How to Create SPXXL Screen Recording Videos
The technical setup guide for creating professional, high-converting SPXXL walkthrough videos. From OBS Studio configuration to audio optimization to publishing workflows — everything you need to start recording today.
Equipment Checklist
You do not need expensive equipment. Here is what actually matters:
Any modern laptop or desktop that can run a browser and screen recorder simultaneously. Mac, Windows, or Linux all work.
OBS Studio (FREE, cross-platform) is the recommended choice. Alternatives: Loom (simple but limited), ScreenPal, or Mac's built-in recorder.
A $30-50 USB microphone dramatically improves audio quality. Blue Snowball, Fifine K669, or Audio-Technica ATR2100x are all excellent budget options.
Sign up for FREE to access the full dashboard. The FREE trading week gives you 5 live sessions of Elite access to record all features.
Optional. Most successful SPXXL walkthroughs use voiceover only. If used, keep it as a small corner overlay.
Optional for basic recordings. DaVinci Resolve (FREE) or CapCut (FREE) for trimming intros/outros and adding text overlays.
OBS Studio Configuration
These OBS settings are optimized for recording SPXXL’s dashboard with maximum text clarity:
Video Settings
Audio Settings
Pro tip: Create a dedicated OBS Scene called "SPXXL Recording" with a single Window Capture source pointed at your browser. This lets you switch to it instantly before any recording session.
Audio That Sounds Professional
Audio quality is the #1 differentiator between amateur and professional-sounding content. Follow these rules:
- Mic position — 6-8 inches from your mouth. Too close = plosives (hard “P” sounds). Too far = room echo.
- Room treatment — Record in a carpeted room with soft furniture. Avoid tiled kitchens or bathrooms. A closet full of clothes is a surprisingly good recording booth.
- Noise gate — In OBS, add a Noise Gate filter to your mic (-32dB close threshold, -26dB open threshold). This eliminates background noise between sentences.
- Gain staging — Your mic level should peak at -12dB to -6dB in OBS. Never let it hit 0dB (clipping). Test with a few sentences before recording.
- Speak naturally — Do not read from a script word-for-word. Use bullet points as prompts and speak conversationally. Your audience wants authenticity, not a teleprompter.
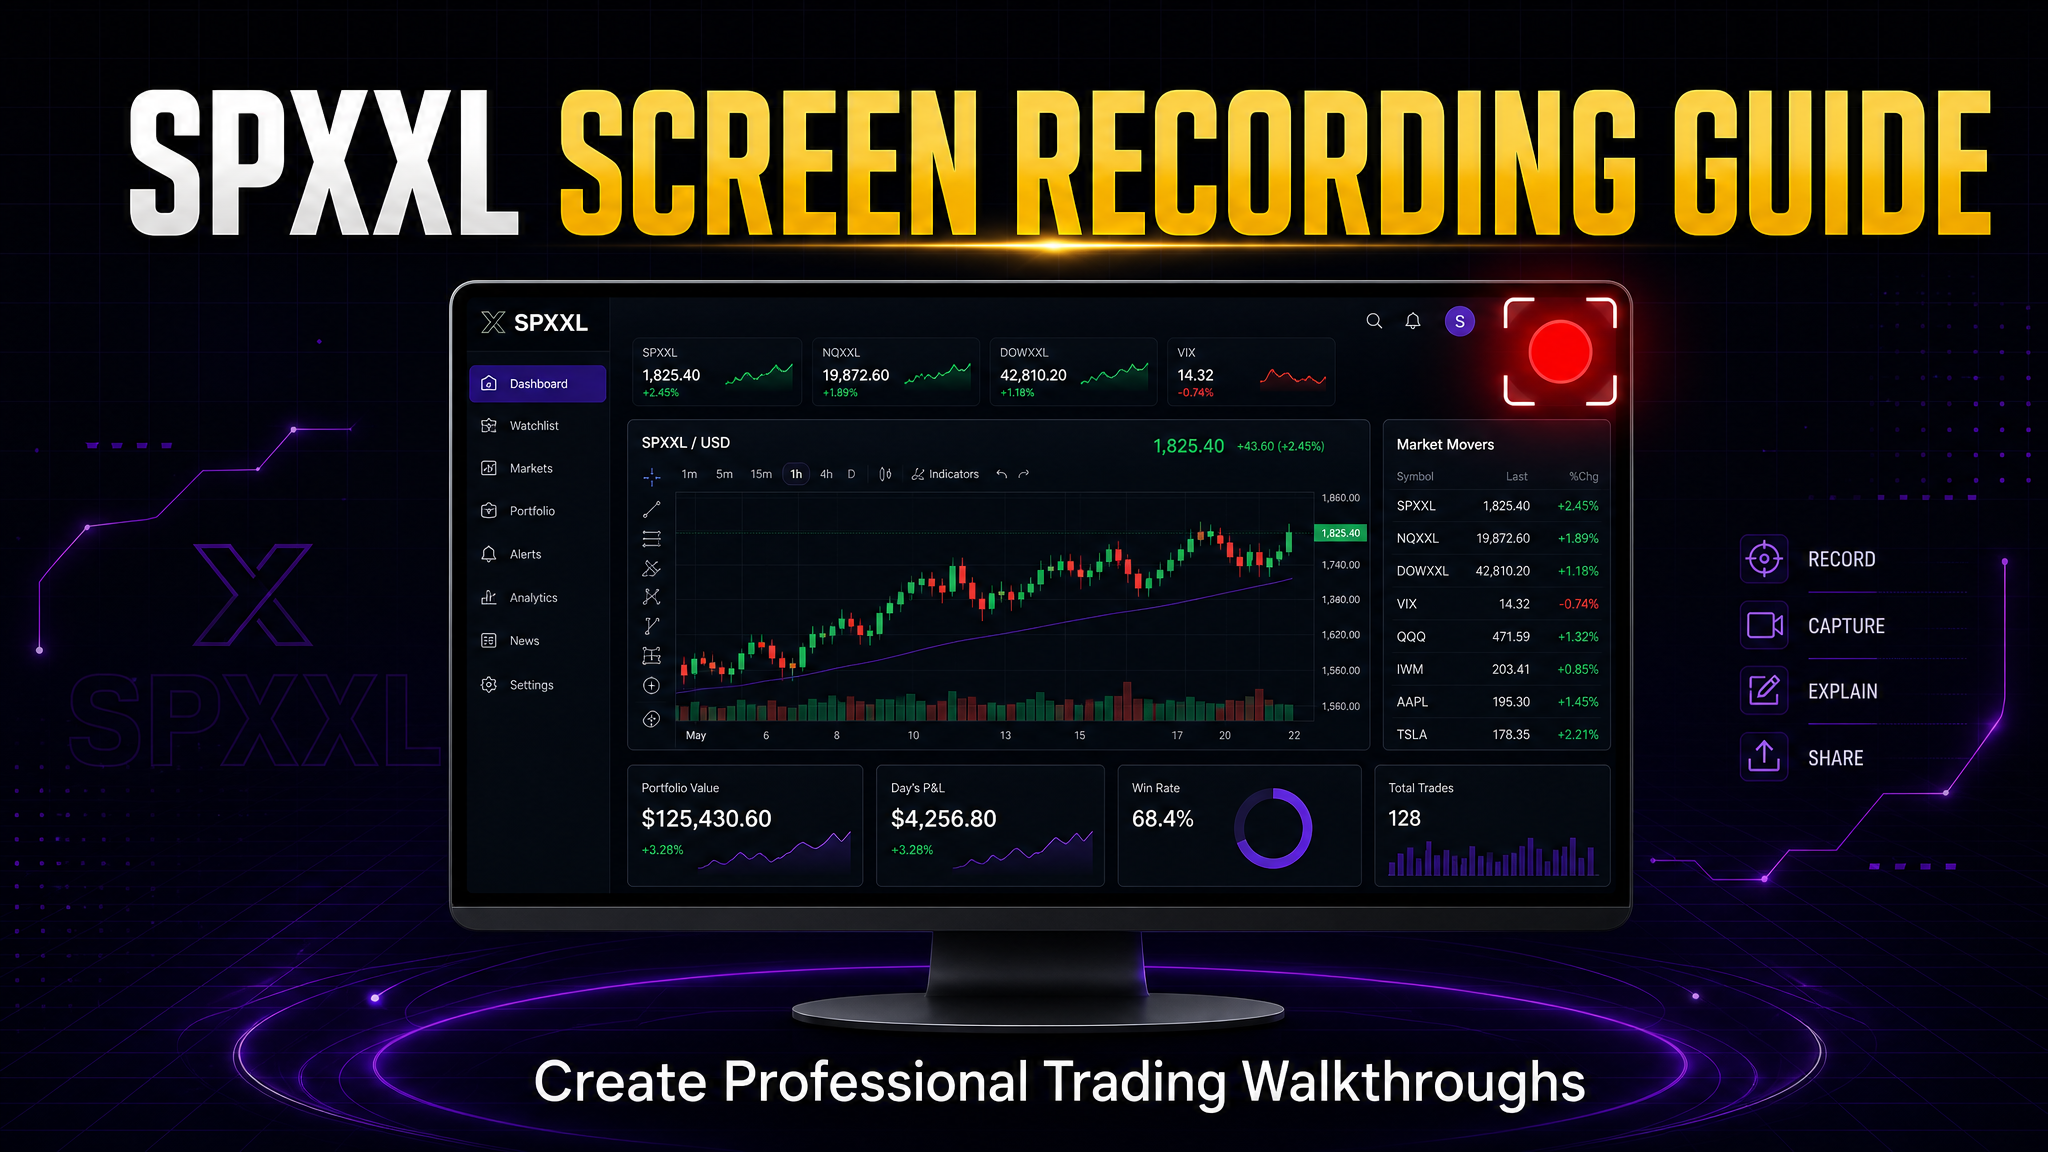
SPXXL Dashboard Layout for Recording
Before hitting record, set up your SPXXL dashboard for maximum visual clarity:
- 1Browser zoom at 100% — Do not zoom in or out. SPXXL is designed for 100% zoom. If text feels small, increase your browser's base font size in settings instead.
- 2Full-screen the browser — Hide the bookmarks bar and any browser extensions. Your audience should see ONLY the SPXXL dashboard.
- 3Close notifications — Turn off Slack, Discord, email notifications, and any other popups that could interrupt your recording.
- 4Start on the Dashboard — The session classification hero and scoring radar are the most visually compelling starting points for any walkthrough.
Recording Workflow
Follow this sequence for a smooth, efficient recording session:
Test mic levels, verify OBS is capturing the right window, check SPXXL is loaded and showing live data.
Give yourself a clean intro buffer. You can trim this in post. Count silently: 1…2…3… then start speaking.
Use bullet points (not a script) on a second monitor or phone. Hit each point naturally.
Take a 2-second breath between major topics. This creates natural edit points if you need to cut.
"Link to try SPXXL is in the description. You get a full FREE trading week — 5 live sessions, no credit card required." Then wait 3 seconds before stopping the recording.
Watch the first 30 seconds. If the audio is off or you fumbled the intro, re-record just the intro.
Quick Editing Tips
You do not need to be a video editor. These minimal edits make a big difference:
- Trim the start and end — Cut the 3-second buffers and any pre-recording fumbles. Clean starts hook viewers.
- Cut dead air — If you paused for more than 3 seconds or said "um" repeatedly, cut those moments. Jump cuts are expected in educational content.
- Add text overlays for key points — When you mention a feature name or metric, add a brief text callout. DaVinci Resolve and CapCut both do this easily.
- Use your affiliate link as an end screen — Add a simple text card in the last 5 seconds with your referral URL.
FREE editors: DaVinci Resolve (professional-grade, FREE), CapCut (beginner-friendly, FREE), or iMovie (Mac only, FREE). For short-form content, CapCut is the fastest.
Platform-Specific Publishing
Optimize your video for each platform:
Upload at 1080p+. Title format: "SPXXL 0DTE Session Classification — [Topic] | Live Walkthrough". Use chapters (timestamps in description). Add your affiliate link as the FIRST link in the description.
Vertical 9:16 format. Record a separate vertical version or crop in CapCut. 45-90 seconds max. Hook in the first 3 seconds. Add affiliate link to bio.
2:20 max for organic, 10 min for premium. Square 1:1 or landscape 16:9. Post during market hours (9:30-4 ET) for maximum engagement. Pin a thread with your affiliate link.
Vertical 9:16, 90 seconds max. Use trending audio (even at low volume under your voiceover). Add "Link in bio" CTA. Use Linktree for your affiliate URL.
Common Mistakes to Avoid
Always record at 1080p minimum. SPXXL has detailed text elements that become unreadable at 720p.
Even a $30 USB mic is a massive upgrade. Laptop mics pick up fan noise, keyboard clicks, and room echo.
Static screenshots are forgettable. Show the dashboard during market hours when scores are changing and sessions are evolving.
Every video needs a clear call-to-action with your affiliate link. "Try SPXXL FREE — link in description" takes 5 seconds and is the whole point.
Authenticity converts better than polish. Jump cuts and natural speech are fine. Do not add flashy transitions or stock music.
Use the 5-part video framework from our Affiliate Educator Guide. Plan your talking points before hitting record.
Ready to Record Your First SPXXL Walkthrough?
Sign up, explore the dashboard, hit record. Your audience is trading 0DTE right now — show them the edge.
5 live sessions of full Elite access · No credit card required
Related Reading
Become an SPXXL Affiliate Educator
The complete guide to teaching 0DTE with SPXXL and earning 20% recurring.
Features to Showcase
The highest-converting SPXXL features for your demo videos.
Affiliate Earnings Breakdown
Commission math, payout schedules, and real earning scenarios.
Affiliate Program
Commission calculator, terms, and instant signup.